3D Logos Made Easy
Here's a feature I've put together to illustrate what's involved when we install a routered logo onto an internal wall. There are many ways to produce dimensional logos for applications like this. For this example we have used painted 10mm acrylic, which provides a really smart finish. See the steps below.
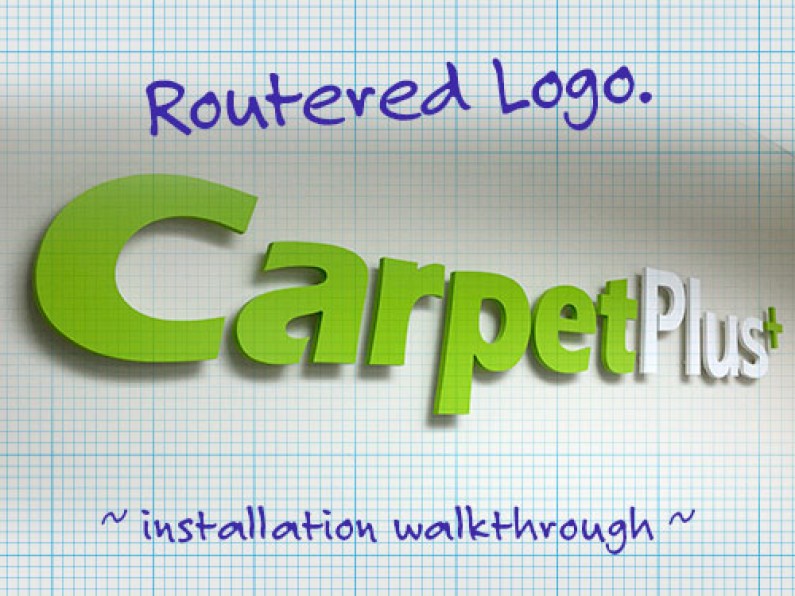
Client: Greig & Esterman Carpet Plus+
251 Blenheim Road, www.carpet-plus.co.nz
1. Starting point.
When we produced the 10mm thick acrylic logo we also made a template on paper to the exact proportions.
The first step we do is tape the template to the wall in it's exact position then hold each letter in it's corresponding position and press firmly. The fixings on the back of the logo mark the exact location for the wall anchors.

2, Install fixings
Using the placement marks, we drill holes in the gib wall then fit the wall anchors into them. The out mount fixings are then screwed into the wall plugs. These fixings hold the acrylic elements off the wall to create a greater dimension effect enhancing light and shadows.

3, Place logo elements on wall.
On the reverse side of each letter is the male part of the wall mount. This inserts and locks into the female mount that is attached to the wall. It’s a great system and looks professional. The elements can be removed and re-attached at any time to allow for servicing of the wall if required.

4, The Clean up
Last but not least we run the vacuum cleaner over the work site leaving it exactly as we found it, and its cup of tea time.

That's it. Dimensional signage is a simple and effective way to lift your signage project. Do you have a wall screaming for your logo or message applied, then talk to us and we'll come up with a stunning solution and a perfect finish.
